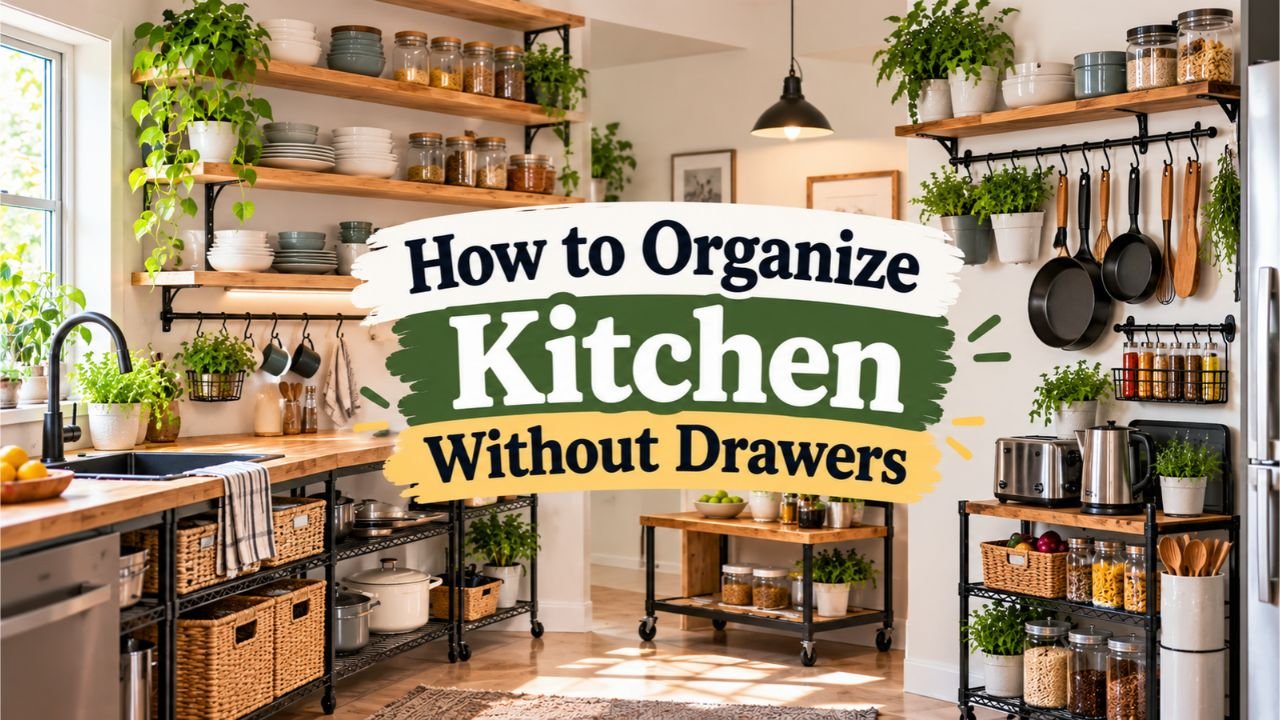
How to Organize Kitchen Without Drawers: 8 Smart Ways to Store
Setting up a cooking space that lacks built-in pull-out drawers requires moving flatware, sharp knives, and cooking gadgets into tabletop caddies, sliding cabinet trays, and vertical wall holders. By pairing a weighted countertop utensil crock and a wall-mounted magnetic knife strip with stackable cutlery bins inside your cupboards, you keep forks, spoons, and prep tools separated and within arm’s reach.
Cooking in an apartment or studio kitchenette with zero drawers quickly creates daily frustration if small tools have nowhere to land. When forks, vegetable peelers, measuring spoons, and aluminum foil rolls get tossed loosely onto deep cupboard shelves or piled on the counter, sharp blades become a finger hazard, small gadgets slide into dark back corners, and setting the dinner table turns into a noisy treasure hunt.
Giving every small tool a divided container or vertical hook immediately stops shelf avalanches and speeds up meal prep. A structured drawer-free system keeps eating utensils sanitary and dust-free, protects chef’s knife edges from banging against metal spoons, and frees up your limited counter space for chopping vegetables.
Dedicated storage for small utensils and trays is one of the highest priorities in American homes. According to the 2026 U.S. Houzz Kitchen Trends Study of 1,780 renovating homeowners, 94 percent of homeowners upgrading cabinetry integrate specialty storage organizers, including dedicated compartments for cookie sheets and trays (55 percent), spices (41 percent), cutlery (38 percent), and pull-out shelves (34 percent).
What stood out to me during my research into compact apartment kitchens is that standard cutlery trays work just as well sitting on an eye-level cupboard shelf as they do inside a sliding wood box. Figuring out how to organize kitchen without drawers simply means creating your own pull-out compartments on cabinet shelves while moving daily cooking tools onto your walls and cabinet doors.
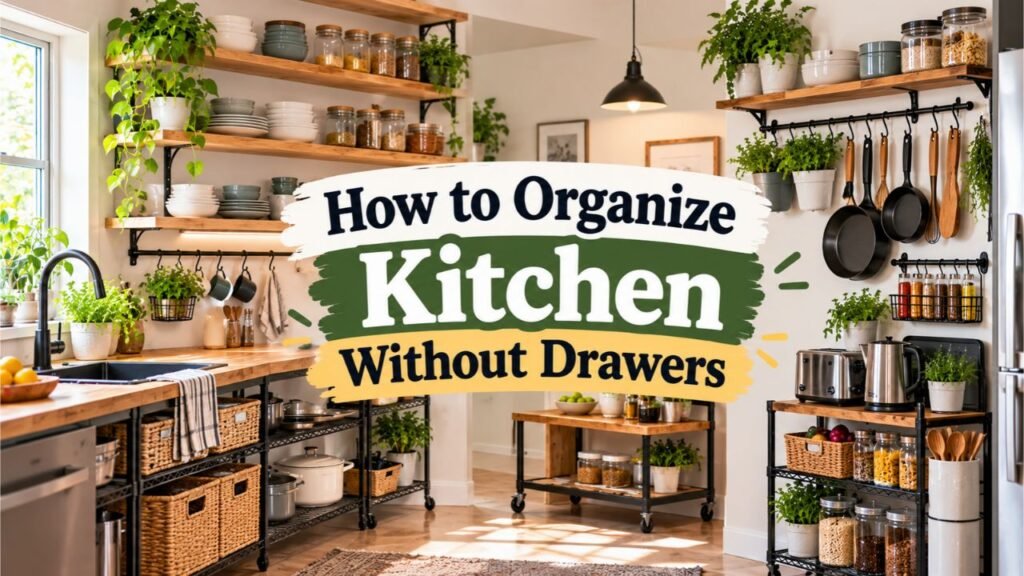
One common mistake that ruins drawer-free setups is dumping everyday forks, sharp paring knives, and wide spatulas into the same deep pitcher on the counter. Mixing eating flatware with long-handled cooking turners forces you to dig past sharp or greasy metal just to grab a cereal spoon.
Below, you will find practical solutions for storing daily silverware, hanging cooking utensils and sharp knives, turning deep cabinets into sliding drawers, organizing foil and food wraps, and adding freestanding drawer carts so every small kitchen tool has a safe, convenient home.
How to Prepare and Declutter a Kitchen Without Drawers
Before buying caddies, hooks, or sliding bins, you must reduce the number of small tools competing for storage. In a kitchen with no drawers, small items cannot hide inside a closed box; every extra bottle opener, plastic takeout fork, and novelty gadget has to sit in a visible jar or occupy shelf space inside a cupboard.
Separating Eating Silverware From Long-Handled Cooking Utensils
Start by gathering every small tool in your kitchen and dividing the pile into four distinct functional groups:
- Daily Eating Flatware: Forks, dinner knives, soup spoons, and teaspoons used at the table.
- Long-Handled Stovetop Tools: Spatulas, slotted turners, wooden spoons, ladles, whisks, and locking tongs used right at the burner.
- Sharp Prep Blades and Gadgets: Chef’s knives, paring knives, bread knives, kitchen shears, vegetable peelers, can openers, and box graters.
- Measuring and Baking Tools: Dry measuring cups, measuring spoons, rubber scrapers, and rolling pins.
Separating these four groups is the foundation of a drawerless layout. Eating silverware belongs near your plates and dining table, while long spatulas and sharp knives belong within one step of your stove and cutting board.
Purging Duplicate Gadgets and Mystery “Junk Drawer” Clutter
Most kitchens have at least one drawer that acts as a magnet for spare batteries, rubber bands, takeout sauce packets, dull scissors, and three extra vegetable peelers. When your kitchen has zero drawers, that miscellaneous clutter quickly takes over your countertop.
I recommend applying a strict one-per-task rule for prep gadgets and capping your flatware to match your household size plus two guests. If two people live in the home, keep six forks, six spoons, and six butter knives out for daily use, and pack the rest into a sealed bin on a high closet shelf. Relocate non-kitchen items—like screwdrivers, tape measures, pens, and spare keys—into a small entryway shoebox or desk organizer so your kitchen only holds actual cooking gear.
| Small Kitchen Item Category | Keep in Daily Drawer-Free Storage | Relocate or Donate |
| Flatware (Forks & Spoons) | 4 to 8 place settings (daily rotation) | Extra holiday silverware sets, plastic takeout cutlery |
| Stovetop Utensils | 1 metal turner, 1 silicone spatula, 2 wooden spoons, 1 ladle, 1 tong | 4th and 5th wooden spoons, melted nylon turners |
| Prep Knives & Tools | Chef’s knife, paring knife, bread knife, 1 peeler, 1 can opener | Specialty corers, dull steak knives, duplicate bottle openers |
| Wraps & Bagged Goods | 1 roll foil, 1 roll parchment, 1 box quart bags, 1 box gallon bags | Half-empty torn boxes, accumulated plastic grocery bags |
Key Takeaway: Divide all small kitchen tools into flatware, cooking utensils, sharp blades, and measuring gear first, and remove duplicate gadgets and non-food junk before choosing storage containers.
How to Store Silverware and Cutlery in a Kitchen Without Drawers
Where do you put forks and spoons when there is no silverware drawer? You have four clean, practical options that keep eating utensils separated by type and ready to grab at mealtime.
Placing a Standard Divided Cutlery Tray on an Eye-Level Cabinet Shelf
The simplest fix requires a product you probably already own. Take a standard 5-compartment bamboo, acrylic, or wire mesh cutlery tray and slide it directly onto the bottom shelf of an upper cabinet or the middle shelf of a base cabinet, right next to your stack of dinner plates.
In my research, I found that choosing a shallow, sloped-front cutlery tray paired with four strip dots of non-slip silicone shelf liner underneath turns an ordinary cabinet shelf into a stationary drawer. When you open the cupboard door to grab a plate, your forks, knives, and spoons sit right at chest or waist height in neat horizontal rows.
Using Vertical Tabletop Silverware Caddies and Mason Jar Trays
If your cabinet shelves are already packed with dishes and food, store your daily silverware vertically in a divided countertop flatware caddy. Commonly made from galvanized steel, bamboo, woven rattan, or ceramic cylinders resting in a wire frame, a four-slot vertical caddy holds forks, knives, soup spoons, and teaspoons upright in a footprint measuring just 6 inches by 6 inches.
Another popular, easy-to-clean method is grouping three or four wide-mouth pint mason jars inside a narrow wooden loaf pan or small rectangular tray. When dinner is ready, you can carry the entire caddy by its center handle straight to the kitchen table or sofa and set it back on a shelf when the meal is over.
Pro Tip: Always store eating forks, spoons, and butter knives handle-down and eating-end-up (or handle-up if covered) inside clean jars, and drop a folded paper towel or cork coaster into the bottom of each jar to absorb stray moisture drops and soften metal clinking.
Adding a Countertop Breadbox or Mini Apothecary Chest for Dust-Free Cutlery
One common worry with open countertop caddies is airborne cooking grease or household dust settling on clean forks and spoons. If you want your flatware completely enclosed without remodeling your cabinets, place a compact countertop drawer unit or a roll-top breadbox on the counter or inside a deep shelf.
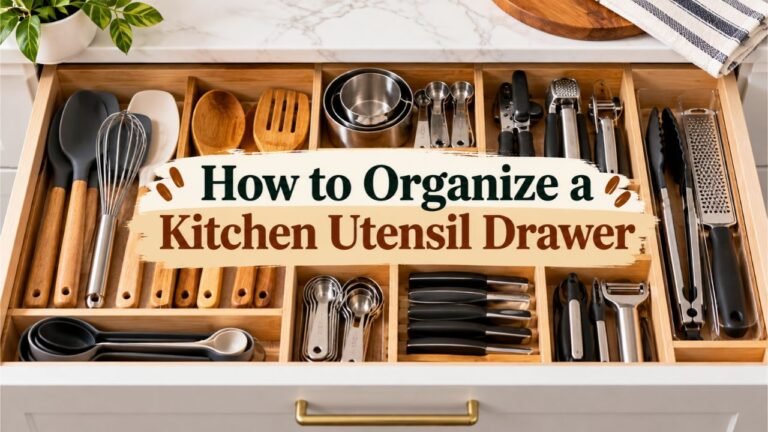
A narrow bamboo desktop organizer with two or three shallow pull-out drawers—often sold for home offices or coffee stations—measures roughly 12 inches wide by 8 inches deep and fits silverware, tea bags, and measuring spoons perfectly.
Hanging Wall or Backsplash Wire Baskets for Daily Forks and Spoons
To keep both your counters and cabinet shelves 100 percent clear, move your silverware onto the backsplash wall. Mount a stainless-steel wall rail between your sink and stove and hook on two or three perforated stainless hanging cutlery cylinders. Because the bottoms and sides of the cups are punched with drain holes, they double as your utensil drying rack right after dishwashing and your permanent flatware holder between meals.
Key Takeaway: Store silverware without drawers by sliding a standard cutlery tray onto an eye-level cabinet shelf, standing forks and spoons upright in a portable four-slot caddy, or hanging perforated cups from a backsplash rail.
How to Organize Kitchen Without Drawers for Cooking Utensils and Knives
Long-handled spatulas, bulky whisks, and razor-sharp chef’s knives never fit nicely inside small silverware trays. Giving these larger cooking tools vertical storage near your stove and prep area makes cooking faster and far safer.
| Drawer-Free Storage Method | Best Kitchen Tools to Store | Space Used | Renter-Friendly? |
| Heavy Ceramic Utensil Crock | Wooden spoons, silicone spatulas, turners, whisks, ladles | 6-in counter circle | Yes (zero installation) |
| Wall Magnetic Knife Strip | Chef’s knives, bread knives, kitchen shears, metal peelers | 0 counter inches (Wall) | Yes (with heavy-duty strips or fridge side) |
| Under-Cabinet Hook Rail | Measuring cups, measuring spoons, colanders, tongs | Dead air below cabinet | Yes (clamp-on or adhesive models) |
| Wall Pegboard Panel | Skillets, box graters, rolling pins, strainers, pot holders | Blank wall surface | Requires 4 wall screws (easy to patch) |
Grouping Spatulas, Whisks, and Ladles in Weighted Countertop Crocks
A wide-mouth weighted ceramic or stainless-steel utensil crock placed right beside your stove is the fastest way to grab a wooden spoon or slotted turner while cooking over a hot pan. Look for a crock measuring at least 6 to 7 inches tall with a weighted base or rotating ball-bearing turntable bottom so tall metal tongs and heavy ladles cannot tip the container over.
If you have more than ten long utensils, split them into two smaller crocks rather than cramming twenty tools into one tight pot: keep one crock for daily wooden spoons and spatulas, and a second for whisking, serving, and gripping tools so handles never tangle at the bottom.
Mounting Magnetic Knife Strips on Backsplashes or Refrigerator Sides
Without a knife drawer, tossing loose chef’s knives onto a shelf or into a crowded utensil jar is a major cut hazard, while wooden countertop knife blocks steal valuable prep space and trap crumbs in narrow slots. Mounting a 12-inch to 18-inch magnetic knife strip on the wall keeps sharp steel blades visible, sanitary, and safely out of reach of children.
Beyond knives, a strong neodymium magnetic bar holds metal kitchen shears, stainless-steel measuring spoons, metal vegetable peelers, and microplane graters. If your lease forbids drilling into a tile backsplash, purchase a magnetic knife bar with a magnetic backing and slap it directly onto the steel side of your refrigerator or microwave casing—zero screws or adhesives required.
Safety Tip: When pulling a sharp chef’s knife off a magnetic wall strip, roll the blade spine-first toward you before pulling outward so the sharp cutting edge never scrapes against the magnet or jumps toward your fingers.
Hanging Measuring Cups and Tongs From Under-Cabinet S-Hook Rails
Look at the flat wooden underside of your upper kitchen cabinets. That shaded strip of wood sits completely empty in most kitchens. Screwing a small brass cup hook row, sliding on an under-cabinet wire hook rack, or attaching a command hook rail underneath the cabinet lets you hang lightweight tools with handle holes right above the counter.
In my view, separating your measuring cups and measuring spoons onto individual mini S-hooks underneath a cabinet door is much handier than keeping them clipped together on a noisy metal ring inside a jar. You simply unhook the exact 1/2-cup scoop or 1-tablespoon measure you need with one hand and hang it back up after rinsing.
Installing a Wall Pegboard for Graters, Peelers, and Strainers
Awkwardly shaped tools—like four-sided box graters, mesh tea strainers, citrus juicers, rolling pins, and pizza wheels—hate sitting flat on shelves and take up way too much room in a countertop crock. Mounting a metal or painted hardboard pegboard on a narrow wall beside your counter gives every odd-shaped gadget its own locking metal peg hook.
Key Takeaway: Stand long spatulas and spoons in a weighted crock by the stove, store sharp blades on a wall or fridge-side magnetic strip, and hang measuring cups and odd-shaped tools on under-cabinet hooks or a wall pegboard.
How to Turn Standard Kitchen Cabinets Into Drawer-Style Storage
If your kitchen has lower base cabinets or upper cupboards with doors, you can easily retrofit those deep, dark shelves to act just like sliding drawers without hiring a carpenter.
Installing Slide-Out Wire Baskets or Peel-and-Stick Pull-Out Trays
Deep lower base cabinets measure 24 inches front-to-back, making it nearly impossible to reach small kitchen tools sitting in the back half of the shelf. Installing sliding pull-out cabinet organizers brings the entire shelf contents out into the room on smooth glides.
Homeowners can screw heavy-duty ball-bearing wire pull-out baskets directly into the cabinet floor, while renters can use no-drill peel-and-stick sliding cabinet drawers anchored with heavy-duty nano-adhesive strips. Placing a shallow sliding tray on the top shelf of a base cabinet gives you an instant concealed utility drawer for silverware trays, foil boxes, and cooking gadgets.
Stacking Clear Acrylic Pull-Out Drawers Inside Upper and Lower Cupboards
Have you ever noticed how much empty space sits above short items inside a standard kitchen cabinet? Most cabinet shelves have 12 to 15 inches of vertical height, which is enough room to stack a two- or three-tier modular clear acrylic drawer unit right inside the cupboard.
Sold in bathroom and closet organization aisles, stackable clear acrylic pull-out shoe or vanity drawers (measuring 10 to 12 inches deep) slide cleanly onto standard upper kitchen cabinet shelves. You can dedicate the top acrylic drawer to vegetable peelers, can openers, and thermometers, the middle drawer to chip clips, wine stoppers, and toothpicks, and the bottom drawer to measuring cups and baking tools. Because the acrylic is crystal clear, you can see every small gadget inside before pulling the handle.
Sliding Under-Shelf Hanging Wire Baskets Onto Existing Cabinet Shelves
Another zero-tool way to mimic a shallow top drawer inside a cabinet is sliding a coated metal under-shelf hanging basket over an existing wood shelf plank. The flat metal arms hook securely over the top of the shelf, suspending a 3-inch to 5-inch deep wire basket in the empty air underneath.
These hanging baskets act just like open-front cubby drawers. They are the ideal height for flat items that normally live in drawers: folded dish towels, oven mitts, silicone baking mats, boxed food wraps, and even a shallow silverware tray.
Key Takeaway: Convert deep cabinet shelves into functional drawers by adding peel-and-stick pull-out glides, stacking modular clear acrylic drawer boxes on shelves, and clipping wire hanging baskets underneath cabinet planks.
Where to Store Foil, Plastic Wrap, Spice Packets, and Linens Without Drawers
Silverware and spatulas are only half the battle. In a typical kitchen, a second and third drawer hold aluminum foil, parchment paper, zip-top freezer bags, dish towels, and potholders. Here is how to store those soft and boxed items neatly without drawers.
Mounting Over-the-Cabinet-Door Foil, Wrap, and Bag Dispensers
Boxes of aluminum foil, plastic cling wrap, wax paper, and parchment paper are long, narrow, and notoriously easy to crush underneath heavy cans on a shelf. Move all of your food wraps onto the back of a lower cabinet door or pantry door using an over-the-cabinet-door wire wrap rack or an adhesive vertical box holder.
Mounted vertically on the inside face of your under-sink or base cabinet door, a coated wire caddy holds three to four standard wrap boxes and rolls of trash bags upright. You simply open the cabinet door and pull out the roll you need without sacrificing an inch of shelf space.
Helpful Insight: For zip-top plastic sandwich, quart, and gallon bags, ditch the flimsy cardboard boxes that tear open and slide your bags into a bamboo zip-top bag dispenser with laser-cut slots that can stand vertically on its side like a hardcover book on a shelf or hang flat on the inside of a cabinet door.
Using Magnetic Refrigerator Side Racks for Paper Towels and Spices
When drawers and counters are scarce, the flat steel sides of your refrigerator offer prime vertical real estate. Attach a multi-tier magnetic refrigerator organizer rack to the side panel of your fridge facing the kitchen workspace.
Held firmly by wide industrial magnets, a single side rack holds your paper towel roll, two tiers of daily spice jars or olive oil bottles, boxes of aluminum foil, and bottom hooks for hanging oven mitts and kitchen shears—completely replacing a utility drawer and a spice drawer at the same time.
Corraling Dish Towels, Oven Mitts, and Trivets in Labeled Shelf Bins
Without a linen drawer, folded microfiber dish cloths, hand towels, and fabric potholders quickly topple over if stacked loose on a shelf. Dedicate one narrow rectangular plastic or woven basket (measuring roughly 6 inches wide by 12 inches deep) on a lower cabinet shelf strictly to kitchen linens.
Instead of stacking folded towels flat on top of one another, file-fold your dish towels vertically on their edges from front to back inside the bin. When you pull the bin slightly forward, you can see every clean towel at a glance and grab one without unfolding the rest of the pile. For the two oven mitts and dish towel you are actively using today, hang them on magnetic hooks on the side of the refrigerator or on an over-the-cabinet-door towel bar right below the sink.
Key Takeaway: Hang aluminum foil and plastic wrap boxes inside cabinet doors, place spices and paper towels on a magnetic refrigerator side rack, and file-fold clean dish towels vertically inside a narrow shelf bin.
Adding Freestanding Drawer Units to a Drawerless Kitchen
Sometimes the smartest way to organize a kitchen without built-in drawers is simply rolling in a compact piece of furniture that brings its own drawers to the room.
- Rolling Butcher-Block Carts With Built-In Top Drawers: If you have an open 20-inch by 24-inch floor spot, choose a rolling kitchen island cart that includes one or two enclosed top drawers right below the wood butcher-block top. That single built-in drawer immediately solves your silverware and sharp knife storage while the lower slatted shelves hold heavy skillets and mixing bowls.
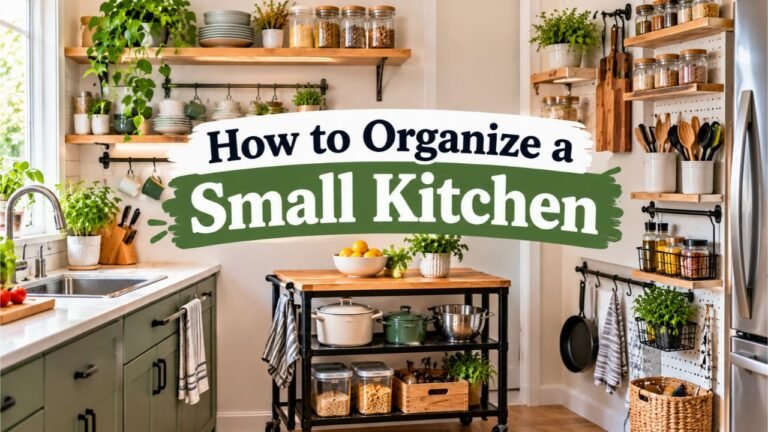
- Three-Tier Rolling Metal Utility Carts: A classic 3-tier rolling metal mesh cart (such as an IKEA Råskog style cart) fits into tight corners and acts like three open-top mobile drawers. Place a divided cutlery tray in the top basket for silverware and prep tools, use the middle basket for spices, oils, and wraps, and use the bottom basket for dish towels and cleaning cloths.
- Desktop Countertop Drawer Boxes: If you have zero open floor space for a cart, set a 2-drawer bamboo desktop monitor riser or apothecary box on the counter underneath your toaster oven or microwave. The appliance sits safely on top of the sturdy wooden box, while the shallow pull-out drawers underneath hold forks, spoons, coffee pods, and thermometer probes in zero extra counter footprint.
5 Steps to Set Up and Maintain a Drawer-Free Kitchen Layout
Building a smooth workflow in a kitchen without drawers takes less than an afternoon when you set up your storage in the right order:
- Empty, Sort, and Purge Small Tools First: Gather all silverware, cooking utensils, knives, wraps, and loose gadgets onto a table. Remove duplicates and relocate non-kitchen items like batteries, mail, and tools to another room.
- Anchor Your Sharp Knives and Daily Stovetop Utensils: Mount your magnetic knife strip on the backsplash wall or refrigerator side first, and set your weighted ceramic crock next to the burner for long spatulas, wooden spoons, and tongs.
- Establish Your Silverware Station Near the Dishes: Decide whether your forks and spoons will live in a divided tray on an eye-level cabinet shelf, inside a portable tabletop caddy, or in hanging cups on a backsplash rail, and place them within arm’s reach of your plates.
- Install Cabinet Door Racks and Stackable Acrylic Bins: Hang your foil and plastic wrap caddy on the inside of a base cabinet door, clip an under-shelf basket onto a cabinet plank for dish towels, and stack clear acrylic pull-out drawers inside a cupboard for small gadgets like peelers and can openers.
- Maintain a Weekly 2-Minute Caddy Check: Because open crocks and shelf trays are easy to drop random items into, spend two minutes once a week removing stray bottle caps, twist ties, or receipts so your utensil holders stay strictly dedicated to cooking gear.
Common Mistakes to Avoid When Organizing Without Kitchen Drawers
Even smart organizers can become frustrating if they are overloaded or placed in the wrong spot. Watch out for these common mistakes:
- Mixing Sharp Knives Into Open Utensil Crocks: Dropping sharp paring knives or chef’s knives point-up or point-down into a deep ceramic crock alongside wooden spoons guarantees nicked fingers and dulled blade edges. Always store sharp blades separately on a magnetic strip or inside blade guards.
- Overfilling Countertop Crocks Until Handles Jam: When you stuff fifteen spatulas and whisks into one narrow jar, the handles cross at the bottom and lock together, causing the whole crock to tip when you pull one spoon out. Leave at least 25 percent breathing room inside any upright caddy.
- Placing Uncovered Silverware Caddies Right Next to the Stove: Splattering frying oil and steam from boiling pasta pots settle on anything sitting within 12 inches of a burner. Keep uncovered forks and eating spoons closer to the sink, dining table, or inside a cabinet shelf tray rather than right beside the range.
- Using Deep Opaque Tubs for Small Gadgets: Tossing peelers, wine openers, measuring spoons, and garlic presses into a single deep, solid-colored plastic bucket recreates the worst kind of messy junk drawer on a shelf. Use shallow, clear, divided bins so nothing gets buried at the bottom.
- Forgetting to Measure Interior Door Clearance: Before hanging a foil rack on the inside of a cabinet door, measure the gap between the closed door panel and the front edge of the interior shelf so the rack does not block the door from shutting flat.
Conclusion
Knowing how to organize kitchen without drawers comes down to splitting up the jobs a standard drawer bank usually handles across your cabinet shelves, walls, doors, and narrow floor gaps. When eating silverware sits neatly in a shelf tray or portable caddy, sharp blades hang safely on a magnetic strip, and small gadgets live inside clear stackable cabinet bins, you will never miss having built-in wooden drawers.
Start by separating your table cutlery from your long cooking utensils and purging duplicate tools that clutter your counters. Pair a weighted stovetop crock and under-cabinet hooks with an over-the-door wrap dispenser to keep every square inch of your prep surface open for cooking.
I recommend starting with your silverware and sharp knives today—place a simple divided cutlery tray on an eye-level cupboard shelf and stick a magnetic knife bar to the side of your fridge or backsplash. Once those daily essentials have a permanent, easy-to-reach home, the rest of your kitchen falls into place effortlessly.
FAQs About Organizing a Kitchen Without Drawers
Where do you put silverware if your kitchen has no drawers?
The easiest places to store silverware without drawers are inside a standard divided cutlery tray placed flat on an eye-level cabinet shelf, upright in a 4-compartment portable tabletop silverware caddy, inside wide-mouth mason jars grouped on a tray, or inside perforated stainless-steel cups hanging from a backsplash wall rail.
How can I store sharp kitchen knives safely without a knife drawer?
Mount a heavy-duty magnetic knife strip on your backsplash wall or attach a magnetic-backed knife bar directly to the steel side of your refrigerator. If you prefer keeping knives inside a cabinet, slip plastic edge guards (blade sheaths) over each blade and store them inside a shallow bin on an upper shelf out of reach of children.
How do I keep silverware clean and dust-free without drawers?
If you want your forks and spoons completely covered, place a divided cutlery tray inside a closed cabinet cupboard, store utensils inside a roll-top countertop breadbox or a compact bamboo desktop drawer box, or choose a tabletop flatware caddy that comes with a clear hinged acrylic lid.
Where should I store small kitchen gadgets like peelers, can openers, and measuring spoons?
Use modular, stackable clear acrylic pull-out drawers (similar to cosmetic or shoe drawers) on an interior cabinet shelf so small gadgets stay sorted and visible. You can also hang measuring spoons, peelers, and strainers from small S-hooks on an under-cabinet rail or a wall-mounted pegboard.
Where can I put aluminum foil, plastic wrap, and zip-top bags without a drawer?
Install a coated wire over-the-cabinet-door wrap organizer on the inside of your under-sink or pantry cabinet door, or stick a magnetic wrap and paper towel holder to the side of your refrigerator. Both options hold tall wrap boxes vertically without using up shelf or counter space.
What is the best way to add actual drawers to a rental kitchen that has none?
Bring in a compact rolling butcher-block kitchen cart with one or two built-in top utility drawers, use a 3-tier rolling metal utility cart with divided tray inserts, or install peel-and-stick pull-out sliding trays onto the bottom shelves of your existing base cabinets.


One Comment