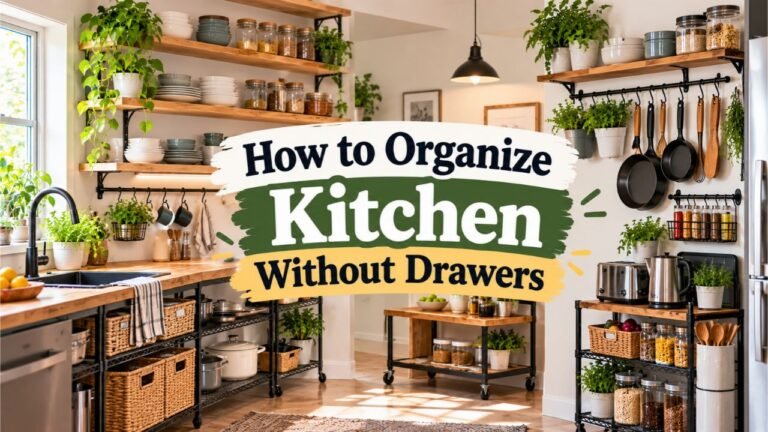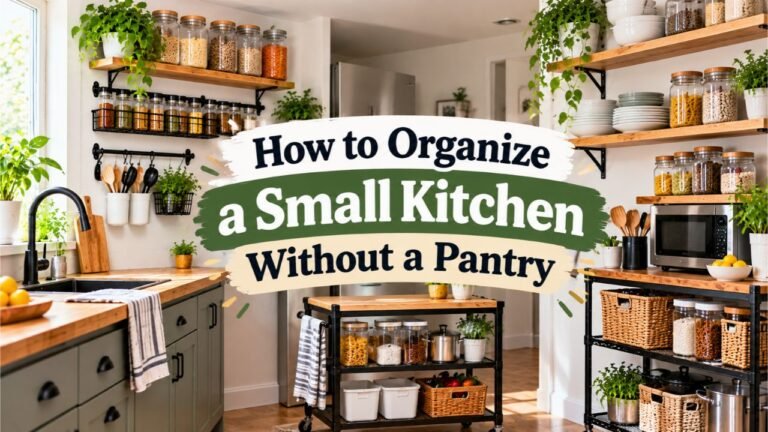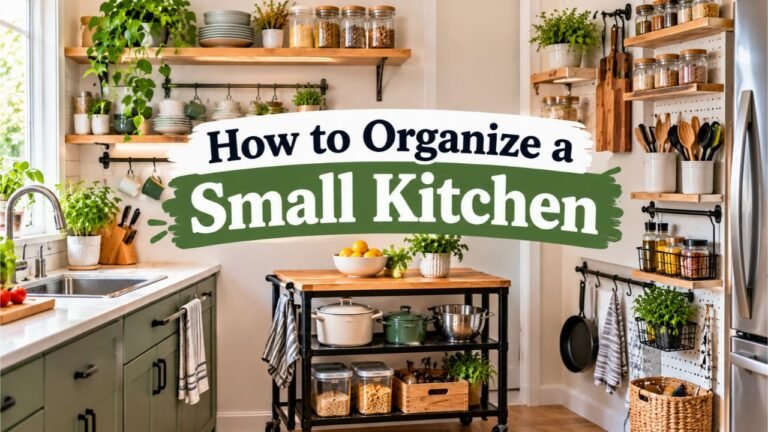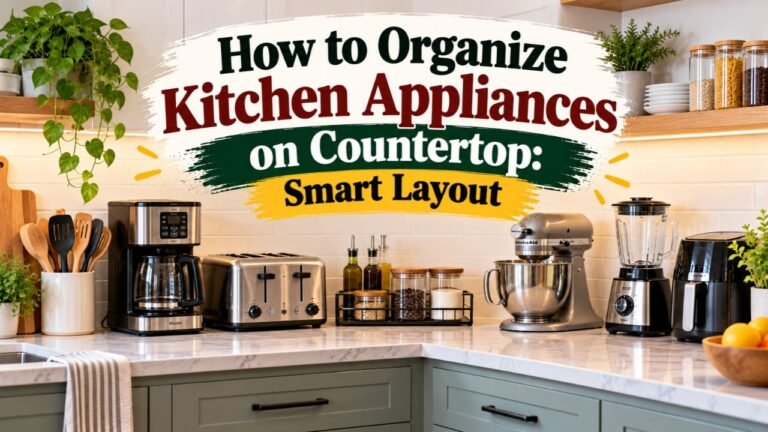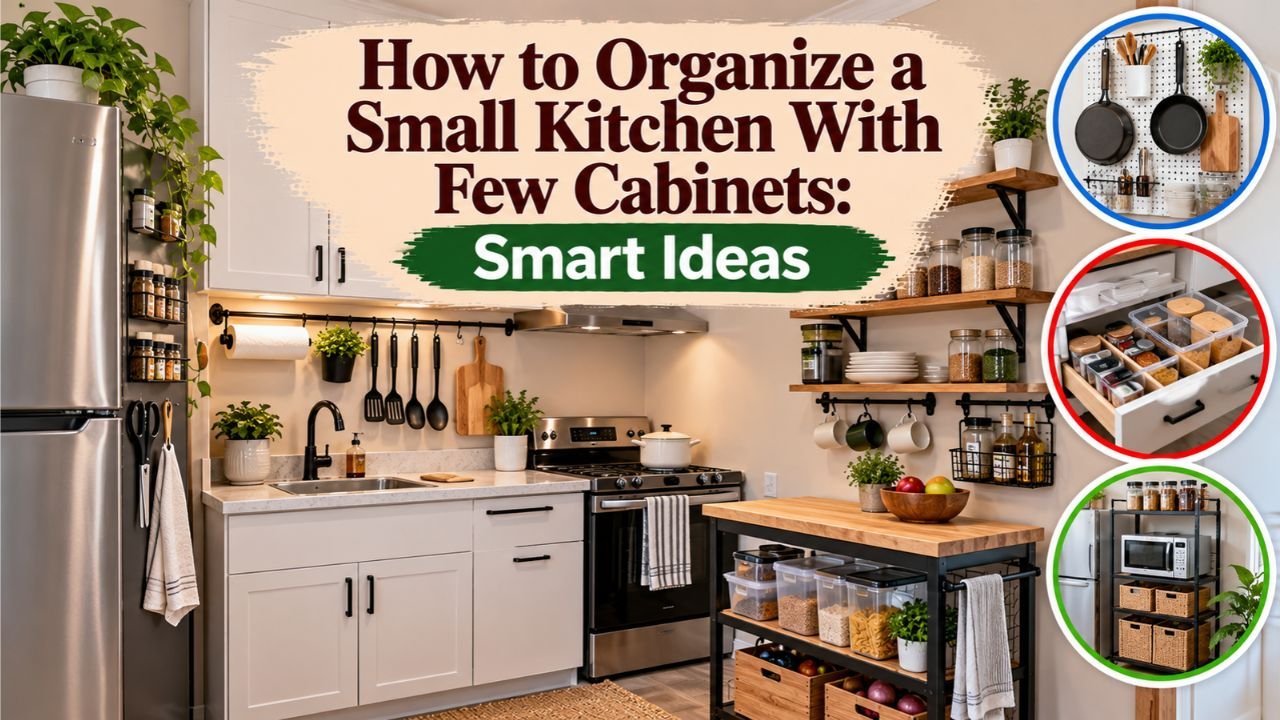
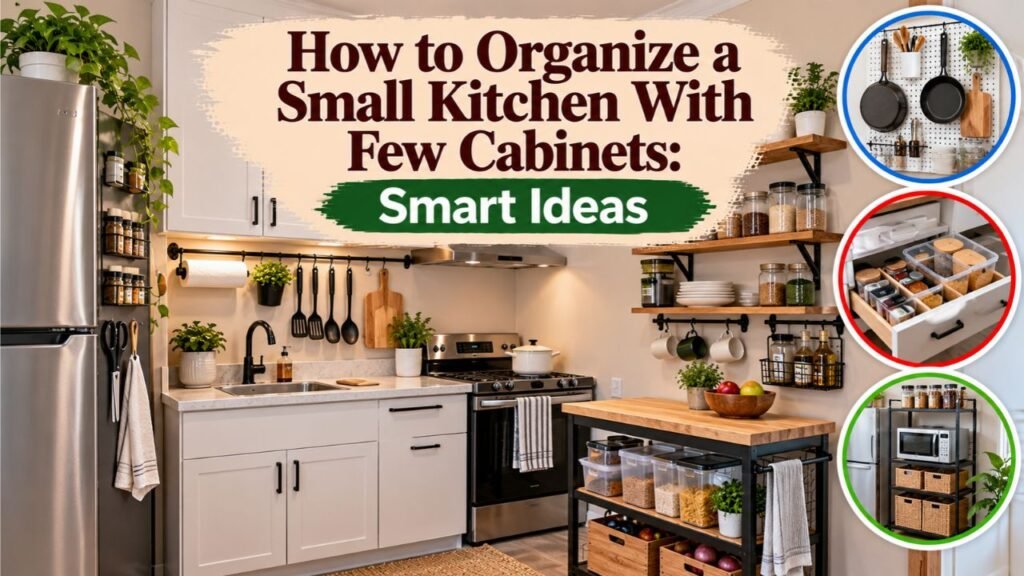
How to Organize a Small Kitchen With Few Cabinets: Smart Ideas
To organize a small kitchen with few cabinets, keep everyday essentials in the most accessible storage areas, remove unnecessary items, and use walls, shelves, and portable organizers for additional space. Cabinet shelf risers, drawer dividers, wall-mounted rails, and narrow rolling carts can make a small kitchen more functional without major renovations.
The biggest challenge isn’t always the kitchen’s size. Poorly arranged cabinets, duplicate utensils, oversized appliances, and overcrowded countertops can make a limited space feel even smaller. By organizing items according to how often you use them, you can make cooking and cleaning easier.
Safety also matters. The U.S. Fire Administration estimated 170,000 home cooking fires in the United States in 2021. Its cooking fire safety guidance emphasizes keeping the cooking area clear and watching food while it cooks.
In this article, I explain how to organize a small kitchen with few cabinets using practical storage solutions, efficient cabinet layouts, and clutter-free countertops. You’ll also learn how to create pantry space, store pots and appliances, use vertical storage safely, and keep a tiny kitchen organized without spending much money.
How to Organize a Small Kitchen With Few Cabinets Step by Step
The most effective approach is to reorganize the available space before purchasing additional organizers.
A small kitchen often has unused space above dishes, behind cabinet doors, or along suitable walls.
The following steps help you identify those areas and use them efficiently.
Step 1: Empty and Declutter the Kitchen Cabinets
Start by removing everything from the cabinets and drawers.
Place similar items together on a table or clean countertop.
Separate them into categories:
- Plates, bowls, and drinking glasses.
- Pots, pans, and baking dishes.
- Cooking utensils.
- Food-storage containers.
- Dry foods and pantry ingredients.
- Small kitchen appliances.
- Cleaning supplies.
- Rarely used kitchen equipment.
Once everything is visible, look for duplicate items and unnecessary belongings.
For example, a household may have several spatulas, numerous mismatched containers, or appliances that haven’t been used in years.
Keep the items that serve a real purpose.
Donate usable extras, recycle appropriate materials, and discard damaged items that cannot be used safely.
The goal is not to make every cabinet completely full. It is to create enough accessible space for the kitchen items you actually need.
Step 2: Divide the Kitchen Into Functional Zones
Organize the kitchen according to the activities performed in different areas.
Even a small kitchen can benefit from simple functional zones.
| Kitchen zone | Best items to keep nearby |
| Food preparation | Cutting boards, knives, mixing bowls |
| Cooking | Pans, cooking utensils, cooking oils |
| Cleaning | Dish soap, sponges, cleaning supplies |
| Food storage | Dry foods, spices, reusable containers |
| Serving | Plates, glasses, silverware |
| Coffee or breakfast | Frequently used mugs and small appliances |
Place items near the areas where they’re needed.
For example, pans should be stored near the stove when practical, while plates and glasses may be more convenient near the dishwasher or drying rack.
Avoid creating zones that require constant walking around the kitchen.
Step 3: Reserve the Best Cabinet Space for Daily Essentials
Not every kitchen item deserves the same amount of storage space.
The easiest-to-reach cabinets should hold the things used most frequently.
Consider these priorities:
Daily-use items:
- Everyday plates and bowls.
- Drinking glasses.
- Frequently used cookware.
- Cooking utensils.
- Common pantry ingredients.
Occasional-use items:
- Large serving bowls.
- Specialty baking equipment.
- Extra glassware.
- Seasonal cooking tools.
Store daily essentials between comfortable reaching heights whenever possible.
Place rarely used lightweight items on higher shelves or in less accessible storage areas.
Avoid storing heavy cookware or large appliances overhead where they could be difficult to retrieve safely.
Step 4: Use Cabinet Shelf Risers and Stackable Organizers
One of the easiest ways to improve a small cabinet is to use its vertical space.
Many kitchen cabinets have substantial unused space above plates, bowls, or food containers.
A shelf riser creates an additional storage level.
For example, you could place:
- Dinner plates beneath a riser.
- Small bowls on top.
- Frequently used mugs beside the plates.
This allows you to separate items instead of creating a single tall, unstable stack.
Adjustable shelves are another useful option when the cabinet already has movable shelf supports.
Measure the internal dimensions before purchasing organizers.
A shelf riser should fit securely without blocking the cabinet door or placing excessive weight on a weak shelf.
Step 5: Organize Drawers With Dividers
Drawers become difficult to use when utensils and small tools are mixed together.
Use adjustable dividers or small bins to separate different categories.
A practical arrangement could be:
- One section for forks, spoons, and knives.
- One section for cooking utensils.
- One section for measuring tools.
- One section for smaller accessories.
Keep frequently used utensils near the front.
Remove oversized organizers that waste more space than they save.
For shallow drawers, choose low-profile trays that allow the drawer to close completely.
If the kitchen has only one drawer, reserve it for the most frequently used small tools.
Step 6: Store Pots, Pans, and Lids More Efficiently
Pots and pans take up substantial cabinet space because they’re bulky and difficult to stack.
Instead of placing everything in one pile, organize cookware according to size and frequency of use.
Try these arrangements:
- Nest compatible pots inside one another.
- Store lids vertically in a suitable rack.
- Use a cabinet divider for baking sheets.
- Place the most frequently used pan near the front.
- Store specialty cookware outside the primary kitchen storage area.
Protect nonstick surfaces by using suitable pan protectors when stacking.
Avoid forcing handles into positions that damage cabinet doors or hinges.
If a cabinet is very narrow, keeping fewer multifunctional pots and pans may be more effective than adding another organizer.
Step 7: Move Suitable Items to Vertical Storage
Cabinets aren’t the only places where kitchen equipment can be stored.
Walls and other vertical surfaces can hold selected lightweight items.
Possible solutions include:
- Wall-mounted rails for utensils.
- Magnetic knife strips installed securely.
- Hooks for lightweight mugs.
- Floating shelves for dishes or pantry containers.
- Pegboards for suitable kitchen tools.
- Hooks on the sides of freestanding storage units.
Keep frequently used items easy to reach.
Choose mounting hardware suitable for the wall and expected load.
Avoid hanging heavy cookware from adhesive hooks that aren’t designed to support the weight.
Step 8: Clear and Reorganize the Countertops
A small kitchen can feel crowded when every available countertop holds appliances, jars, and cooking accessories.
Keep only regularly used items on the main counter.
A practical countertop setup might include:
- One frequently used appliance.
- A compact utensil holder.
- A designated cutting-board area.
- A small container for daily-use items.
Store everything else in cabinets, drawers, or suitable secondary storage.
Keep at least one comfortable section of counter clear for food preparation.
Don’t place storage baskets, dish towels, paper packaging, or other combustible materials beside active burners.
Key Takeaway: A small kitchen becomes easier to use when everyday essentials receive priority, cabinet space is divided efficiently, and countertops remain available for cooking.
Best Cabinet Organization Ideas for a Kitchen With Limited Storage
When cabinets are scarce, each cabinet should have a specific purpose.
Randomly filling available shelves creates clutter because related items become scattered.
Organizing a Kitchen With Only One Cabinet
If the kitchen has just one usable cabinet, prioritize the items that are difficult to store safely elsewhere.
A practical arrangement could include:
- Lower shelf: Everyday dishes and heavier items.
- Upper shelf: Lightweight pantry ingredients or less-used dishes.
- Cabinet door: Lightweight accessories, if the hinges and mounting system can support them.
Use a shelf riser to separate plates and bowls.
Keep utensils in a suitable drawer or countertop holder.
Move bulky pans to a stable freestanding rack if the kitchen layout allows.
Store backup food supplies in a separate pantry shelf or suitable storage cart.
Organizing a Kitchen With Two Cabinets
With two cabinets, separate cookware from food and serving items.
| Cabinet | Suggested contents |
| Cabinet 1 | Plates, bowls, mugs, and everyday dishes |
| Cabinet 2 | Pots, pans, lids, and frequently used cooking tools |
If the kitchen lacks a pantry, use a narrow shelf or mobile cart for dry foods.
This arrangement keeps dishware and cookware organized without repeatedly moving unrelated items.
Organizing a Kitchen With Three Cabinets
Three cabinets provide more flexibility.
A simple layout is:
- Cabinet 1: Plates, glasses, and serving items.
- Cabinet 2: Pots, pans, and cooking equipment.
- Cabinet 3: Dry foods, spices, and pantry ingredients.
Place each category near its corresponding activity when possible.
For example, cookware is most convenient near the cooking area, while the pantry cabinet should be reasonably close to food preparation space.
How to Organize Deep Kitchen Cabinets
Deep cabinets often become cluttered because small items disappear behind larger objects.
Use removable bins or suitable pull-out organizers to improve access.
Group similar items in separate containers.
For example:
- One bin for baking ingredients.
- One bin for snacks.
- One bin for food-storage accessories.
Keep the most frequently used items toward the front.
A pull-out shelf may be useful if the cabinet construction and mounting system can support it.
How to Organize a Small Kitchen Without a Pantry
Many small apartments and older homes have no dedicated pantry.
In that situation, dry-food storage must be created using available cabinets or freestanding furniture.
Use a Narrow Freestanding Pantry Shelf
A narrow shelving unit can provide additional storage without requiring built-in cabinetry.
Look for unused wall space beside the refrigerator or along a suitable kitchen wall.
Choose a shelf that fits without blocking:
- Walking paths.
- Appliance doors.
- Electrical outlets needed for appliances.
- Access to windows or exits.
Store heavier items on lower shelves.
If the unit is tall or presents a tipping risk, secure it according to the manufacturer’s instructions.
Turn a Rolling Cart Into a Mini Pantry
A narrow rolling cart can hold dry pantry items such as:
- Canned foods.
- Unopened pasta.
- Rice.
- Cooking ingredients.
- Small snack containers.
Choose a cart with adequate load capacity and wheels that can be locked when necessary.
Avoid overloading the top shelf.
A rolling cart works particularly well when it can fit into a suitable unused gap and be pulled out for access.
Use Clear Containers for Pantry Staples
Clear containers can make it easier to see remaining food quantities.
They are useful for ingredients such as rice, pasta, oats, and other dry pantry staples.
However, transferring every product into decorative jars isn’t necessary.
For packaged foods, keeping the original packaging may preserve useful instructions and date information.
If you transfer food into another container, label it with the product name and any important storage or preparation information.
Use clean, food-safe containers with suitable closures.
Organize Pantry Foods by Frequency of Use
Keep everyday ingredients in easy-to-reach locations.
Place less frequently used foods on higher or secondary shelves.
A simple layout might be:
| Storage level | Suggested contents |
| Upper shelf | Lightweight backup dry foods |
| Middle shelf | Everyday cereals, pasta, and snacks |
| Lower shelf | Heavier canned goods and unopened ingredients |
Avoid storing food beside heat sources or household chemicals.
Prevent Food Waste in a Small Pantry
Limited storage can encourage unnecessary stacking and forgotten groceries.
Keep newer purchases behind older suitable items and check existing supplies before shopping.
The FoodSafety.gov guidance on reducing food waste safely recommends checking the refrigerator and pantry before shopping, avoiding excessive purchases, and monitoring stored food to reduce waste.
For a small kitchen, maintaining a simple inventory can also prevent storage from becoming overcrowded.
Key Takeaway: A missing pantry doesn’t require a kitchen renovation. A small freestanding shelf, labeled containers, and a regular inventory routine can create useful food storage.
How to Organize Kitchen Countertops With Very Little Space
Countertop space is often more limited than cabinet storage in a small kitchen.
The goal should be to preserve a usable food-preparation area.
Keep Only Everyday Appliances on the Counter
Decide which appliances are used often enough to justify permanent countertop space.
For example:
- A coffee maker used daily may deserve a dedicated spot.
- A blender used occasionally can be stored elsewhere.
- A large stand mixer may need a lower shelf or cabinet.
- A toaster may be stored when cool if the manufacturer permits it.
Don’t keep appliances on top of one another or operate them inside enclosed cabinets unless the installation is specifically designed for that use.
Follow manufacturer clearance and ventilation requirements.
Use a Compact Utensil Holder
A small utensil holder can reduce the need for a separate utensil drawer.
Keep only the tools used frequently.
Examples include:
- Spatula.
- Cooking spoon.
- Ladle.
- Tongs.
Store specialty utensils elsewhere.
An overcrowded holder may be no more convenient than a cluttered drawer.
Store Cutting Boards Vertically
Cutting boards often occupy unnecessary counter or cabinet space when laid flat.
A suitable vertical rack can keep them organized.
The rack should allow boards to dry properly and remain stable.
Avoid placing damp cutting boards tightly against surfaces where moisture can become trapped.
If storing boards beside the sink, choose a location protected from constant splashing.
Use an Over-Sink Drying Rack Carefully
An appropriately sized over-sink rack can provide temporary space for drying dishes.
However, it must fit securely and support the intended load.
Avoid placing heavy cookware on a lightweight rack.
Also make sure the design doesn’t obstruct the faucet, interfere with washing, or create unstable stacks above the sink.
A removable drying rack may be more suitable than a permanent one when space is extremely limited.
How to Use Wall Space Without Adding More Cabinets
Vertical storage can reduce demand on cabinets and countertops.
However, kitchen walls are exposed to heat, moisture, and grease, so placement matters.
Install Floating Shelves on a Suitable Wall
Floating shelves can hold lightweight dishes, jars, or kitchen accessories.
Install them into appropriate structural supports using hardware rated for the expected weight.
Avoid placing heavy glassware on poorly secured shelves.
Open shelves also require regular cleaning because exposed items can collect dust and cooking grease.
For this reason, frequently used dishes and easy-to-clean containers are often better candidates than rarely used decorative objects.
Use a Wall-Mounted Utensil Rail
A utensil rail can hold frequently used tools without occupying drawer space.
Place it near the food-preparation area but away from direct burner heat.
Keep hanging utensils from interfering with appliance controls or work areas.
Make sure hooks are secure and cannot release sharp or heavy items unexpectedly.
Add Hooks to Cabinet Sides
The exposed side of a cabinet may provide a useful location for lightweight hooks.
These can hold:
- Lightweight measuring cups.
- Small kitchen towels.
- Reusable bags.
- Oven mitts stored away from the stove.
For renters, suitable removable hooks may be an option if the cabinet surface and adhesive are compatible.
Follow the hook manufacturer’s load and removal instructions.
Use a Magnetic Knife Strip Safely
A magnetic knife strip can free drawer space.
However, it must be installed securely and positioned away from children.
Choose a strip suitable for the knives and attach it to an appropriate supporting surface.
Do not rely on an unverified adhesive installation to hold heavy or sharp knives overhead.
If there is no safe location, a drawer knife insert may be the better storage solution.
How to Organize Small Kitchen Appliances With Few Cabinets
Small appliances can consume a large portion of available kitchen storage.
The most effective solution is to decide which appliances deserve space in the kitchen.
Keep Multipurpose Appliances
Consider whether one appliance can replace several others.
For example, a multifunctional cooker may reduce the need to store separate equipment for certain cooking tasks.
However, an appliance is only useful if it supports your regular cooking habits.
Don’t purchase large multifunctional equipment without first measuring the available storage space.
Store Rarely Used Appliances Outside the Kitchen
Some equipment doesn’t need to occupy the kitchen throughout the year.
Examples might include:
- Seasonal baking tools.
- Specialty waffle makers.
- Occasional entertaining equipment.
- Large serving appliances.
Store clean, dry appliances in a suitable nearby closet or designated household storage area.
Keep frequently used equipment in the kitchen.
Avoid placing heavy appliances on high shelves where retrieving them could cause injury.
Choose Stackable Food-Storage Containers
Food-storage containers can quickly fill a cabinet.
Select compatible containers that nest neatly.
Store lids together in a separate divider or suitable bin.
Discard damaged containers that no longer seal correctly.
Avoid keeping large collections of containers without matching lids.
A smaller set of practical sizes is usually easier to organize than numerous mismatched pieces.
How to Organize Under the Kitchen Sink
The cabinet below the sink is often one of the few storage spaces available.
However, plumbing, moisture, and cleaning chemicals limit how it should be used.
Use Removable Under-Sink Organizers
A small removable organizer can help separate cleaning supplies.
Possible options include:
- Shallow plastic bins.
- Compact pull-out trays.
- Suitable over-door holders.
- Small adjustable shelves designed around plumbing.
Measure around pipes, valves, and the garbage disposal before purchasing organizers.
Leave plumbing components accessible for inspection and maintenance.
Store Cleaning Products Safely
Keep household chemicals in their original labeled containers.
Do not mix cleaning products or transfer them into food containers.
Separate chemicals from food, dishes, and food-preparation supplies.
If children could access the cabinet, use appropriate child-resistant storage or locks.
Avoid placing heavy supplies where they could damage pipes or water connections.
Keep the Cabinet Dry
Under-sink cabinets can develop leaks or condensation.
Check periodically for:
- Damp cabinet surfaces.
- Leaking drain connections.
- Mold or unpleasant odors.
- Damaged plumbing.
- Water collecting in storage bins.
Fix moisture problems rather than covering them with additional organizers.
Important: Under-sink storage should not block shutoff valves or prevent you from identifying a leak.
Small Kitchen Storage Ideas for Renters
Renters may not be allowed to install permanent shelving or modify existing cabinets.
Fortunately, many useful storage solutions require no drilling.
Use Removable and Freestanding Organizers
Consider:
- Freestanding narrow shelves.
- Stackable cabinet risers.
- Drawer dividers.
- Removable shelf baskets.
- Compact rolling carts.
- Appropriate over-cabinet-door organizers.
- Removable hooks used within their rated capacity.
Measure the available space before purchasing anything.
Avoid placing heavy items on adhesive-mounted organizers.
Choose Over-the-Door Storage Carefully
Cabinet-door organizers can hold lightweight items such as small cleaning accessories or wraps.
However, they need sufficient clearance when the door closes.
Check that the organizer doesn’t interfere with hinges, adjacent drawers, or the cabinet frame.
Avoid placing heavy bottles or cookware on doors that aren’t designed for those loads.
Use a Freestanding Kitchen Cart Instead of Permanent Shelves
A compact cart provides additional storage without drilling into walls.
Choose a cart that remains stable when loaded and doesn’t block kitchen traffic.
A cart with a solid top may also provide extra preparation space, provided the surface is suitable for the intended food-contact use.
Keep it away from open flames and other heat sources.
Smart Storage Layout for a Kitchen With Two Cabinets and One Drawer
A simple example makes it easier to understand how limited storage can be divided.
Suppose a small apartment kitchen has:
- One upper cabinet.
- One lower cabinet.
- One utensil drawer.
- A short countertop.
- No pantry.
A practical arrangement could look like this:
| Storage area | What to keep there |
| Upper cabinet | Everyday dishes, mugs, glasses |
| Lower cabinet | Main pots, pans, mixing bowls |
| Single drawer | Silverware and essential utensils |
| Narrow freestanding shelf | Dry foods and pantry ingredients |
| Suitable wall rail | Frequently used lightweight utensils |
| Compact countertop area | One daily-use appliance |
| Under-sink cabinet, if available | Safely contained cleaning supplies |
The arrangement can be adjusted according to the kitchen layout.
For example, if the kitchen has no safe wall location for hanging utensils, a compact countertop holder may work better.
The main principle is to give every category one consistent home.
How to Make a Small Kitchen Look Bigger and Less Cluttered
Organization can make a kitchen feel more open even when its actual dimensions remain unchanged.
However, the visual improvements should support everyday use rather than create additional work.
Limit Visible Countertop Items
Keeping every jar, appliance, and utensil on display can make a small kitchen appear crowded.
Move unnecessary objects into cabinets or secondary storage.
Leave a comfortable preparation area open.
Use Matching Containers Only Where Helpful
Matching containers can create a consistent appearance, but replacing every food package isn’t essential.
Use containers where they improve visibility, moisture protection, or storage efficiency.
Avoid purchasing decorative organizers that take up more space than the products they hold.
Keep Frequently Used Surfaces Clean
Clean counters, cabinet fronts, and appliance surfaces regularly.
Avoid allowing dishes to accumulate around the sink.
A simple daily cleaning routine can make the available space feel more manageable.
Improve Lighting Where Appropriate
Poor lighting can make small kitchens feel cramped.
Suitable task lighting can help illuminate food-preparation areas and the inside of darker cabinets.
Use lighting products intended for the location and install them according to their electrical and clearance requirements.
Don’t place lights or electrical cords where they can contact water or hot surfaces.
Budget-Friendly Ways to Organize a Small Kitchen
You don’t need an expensive renovation or a full collection of organizers.
Start with free changes and add inexpensive storage only when it solves a specific problem.
Free Organization Improvements
Try these first:
- Remove duplicate utensils.
- Store rarely used equipment outside the kitchen.
- Move dishes closer to where they’re used.
- Nest compatible bowls and containers.
- Keep container lids together.
- Clear the countertop of occasional-use appliances.
- Rearrange adjustable cabinet shelves.
- Group pantry ingredients by use.
These steps may free enough space that additional purchases become unnecessary.
Low-Cost Organizers Worth Considering
If more storage is still needed, prioritize:
- One or two cabinet shelf risers.
- An adjustable drawer divider.
- A lid organizer.
- Small pantry bins.
- A suitable over-door organizer.
- A narrow freestanding shelf.
Avoid buying organizers before measuring your cabinets and deciding exactly what they need to hold.
A poorly sized organizer can actually reduce usable storage.
Common Mistakes When Organizing a Small Kitchen With Few Cabinets
Many small-kitchen storage problems result from adding organizers without first reducing clutter.
Using Every Available Surface for Storage
A small kitchen still needs safe cooking and preparation space.
Don’t fill the stovetop, countertop edges, or appliance ventilation areas with stored items.
The U.S. Fire Administration recommends keeping combustible materials away from the stove.
Storage should never interfere with cooking safety.
Overloading Wall Shelves
Floating shelves and wall hooks can save space, but they must be properly installed.
Check weight limits, mounting surfaces, and the condition of the wall.
Heavy dishes or cookware falling from an overloaded shelf can cause serious injury.
Storing Heavy Items Too High
Large pans, mixers, and bulky appliances are often safer on lower shelves.
Keep upper storage for lighter items that can be retrieved comfortably.
Avoid using unstable stools or climbing on countertops to reach stored objects.
Buying Too Many Storage Containers
Organizers are useful only when they make belongings easier to access.
Too many bins can occupy space and create unnecessary layers of storage.
Choose organizers according to actual cabinet measurements and item sizes.
Keeping Excess Pantry Stock
Bulk purchases may save money per unit, but they also consume valuable storage space.
For a kitchen without a pantry, purchasing quantities that match available space and realistic usage can be more practical.
Check existing ingredients before shopping.
Forgetting Appliance Ventilation and Access
Avoid storing appliances in arrangements that block required ventilation.
Don’t place shelves or carts where they prevent refrigerator, dishwasher, or oven doors from opening fully.
The layout should allow safe appliance operation and convenient movement.
How to Keep a Small Kitchen Organized Every Day
Once the storage arrangement works, maintaining it should require only a few consistent habits.
Follow a Five-Minute Daily Reset
At the end of the day:
- Return utensils to their assigned locations.
- Put away clean dishes.
- Clear the food-preparation counter.
- Wipe the frequently used surfaces.
- Check whether pantry items or supplies need attention.
A short reset prevents small amounts of clutter from building up.
Reorganize One Cabinet at a Time
Instead of emptying the entire kitchen repeatedly, inspect one storage area when it becomes difficult to use.
Remove unnecessary items and adjust the arrangement.
If something frequently ends up in the wrong location, consider whether its assigned storage spot is inconvenient.
Check Food Supplies Before Grocery Shopping
Review the refrigerator and pantry before purchasing additional groceries.
This helps prevent duplicate purchases and overcrowding.
Keep a simple shopping list of frequently used ingredients.
Use older suitable products before newer purchases when their quality and storage requirements allow.
Maintain a One-In, One-Out Rule for Extras
When purchasing a replacement pan, utensil, or appliance, consider removing the old item if it is no longer useful.
This habit prevents unnecessary accumulation.
It is particularly helpful in kitchens with very limited cabinets.
Review the Layout When Cooking Habits Change
Your storage needs may change if you start baking frequently, prepare more meals at home, or purchase new appliances.
Rearrange the kitchen according to current use rather than keeping a layout that no longer works.
The best organization system is one you can maintain comfortably.
Conclusion
Learning how to organize a small kitchen with few cabinets starts with making better use of the space you already have.
Declutter unnecessary items, give each cabinet a specific purpose, and reserve the most accessible storage for everyday essentials.
Shelf risers, drawer dividers, suitable wall storage, and narrow freestanding shelves can help organize dishes, cookware, pantry foods, and small appliances without major remodeling.
For kitchens with no pantry, a compact rolling cart or freestanding shelf can provide valuable additional storage. Keeping countertops clear also improves food preparation and makes the room feel less crowded.
I recommend starting with a complete cabinet declutter, then organizing items by cooking activity before purchasing new storage products.
A small kitchen doesn’t need more cabinets to become more functional. It needs a practical layout, carefully chosen storage solutions, and habits that prevent clutter from returning.
FAQs About How to Organize a Small Kitchen With Few Cabinets
How Do You Organize a Kitchen With Only Two Cabinets?
Assign one cabinet to everyday dishes and the other to frequently used cookware.
Use a drawer for utensils, if available.
Add a narrow shelf or compact rolling cart for pantry ingredients and other items that don’t fit.
Keep unnecessary appliances and rarely used tools out of the primary kitchen storage areas.
Where Should You Put Dishes if You Have No Cabinets?
You can use a suitable freestanding shelf, sturdy dish rack, or securely installed wall shelving.
Keep heavier dishes on lower shelves.
Choose storage that protects dishes from falling and doesn’t interfere with kitchen activities.
Avoid placing heavy stacks of plates on unstable floating shelves.
How Can You Organize a Small Kitchen Without a Pantry?
Use a narrow freestanding shelf, compact rolling cart, or designated cabinet space for dry-food storage.
Group similar products, label transferred ingredients, and keep frequently used foods accessible.
Avoid purchasing more food than the available storage can accommodate comfortably.
How Do You Store Pots and Pans With Limited Cabinet Space?
Nest compatible pots, organize lids vertically, and keep frequently used cookware near the cooking area.
A sturdy freestanding cookware rack may be useful if space allows.
Avoid hanging heavy pans from inadequately secured hooks or weak adhesive hardware.
What Is the Best Way to Organize a Small Kitchen Counter?
Keep only daily-use essentials on the countertop.
Move occasional-use appliances into suitable storage and keep a clear food-preparation area.
A compact utensil holder and vertical cutting-board rack may help reduce clutter.
How Can Renters Add Kitchen Storage Without Drilling?
Renters can use freestanding shelves, rolling carts, cabinet risers, drawer dividers, and appropriate removable organizers.
Over-cabinet-door storage may also be useful for lightweight items.
Follow load ratings and check that organizers don’t damage cabinet surfaces or prevent doors from closing properly.
What Should You Avoid Storing Under the Kitchen Sink?
Avoid storing food beside cleaning chemicals, placing heavy objects against plumbing, or blocking water shutoff valves.
Keep household cleaning products in their original labeled containers and secure them away from children.
Check the space regularly for moisture or leaks.